(English version here)
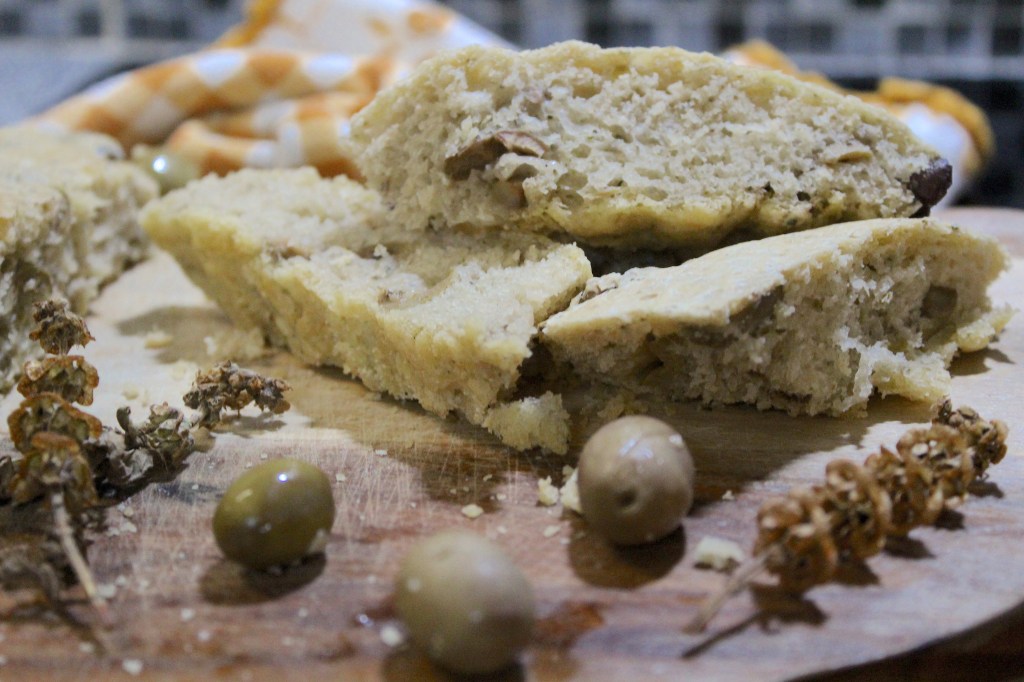
Com pouco esforço e trabalho, este pão aromático e recheado de azeitonas verdes, é simplesmente viciante! Incrivelmente fácil de fazer, já que não é necessário amassar. O resultado final é um pão leve, cheio de sabor e com uma superfície crocante.
Prontos para mais receitas? Basta inserir o email e recebem notificações sempre que algo sair do forno!
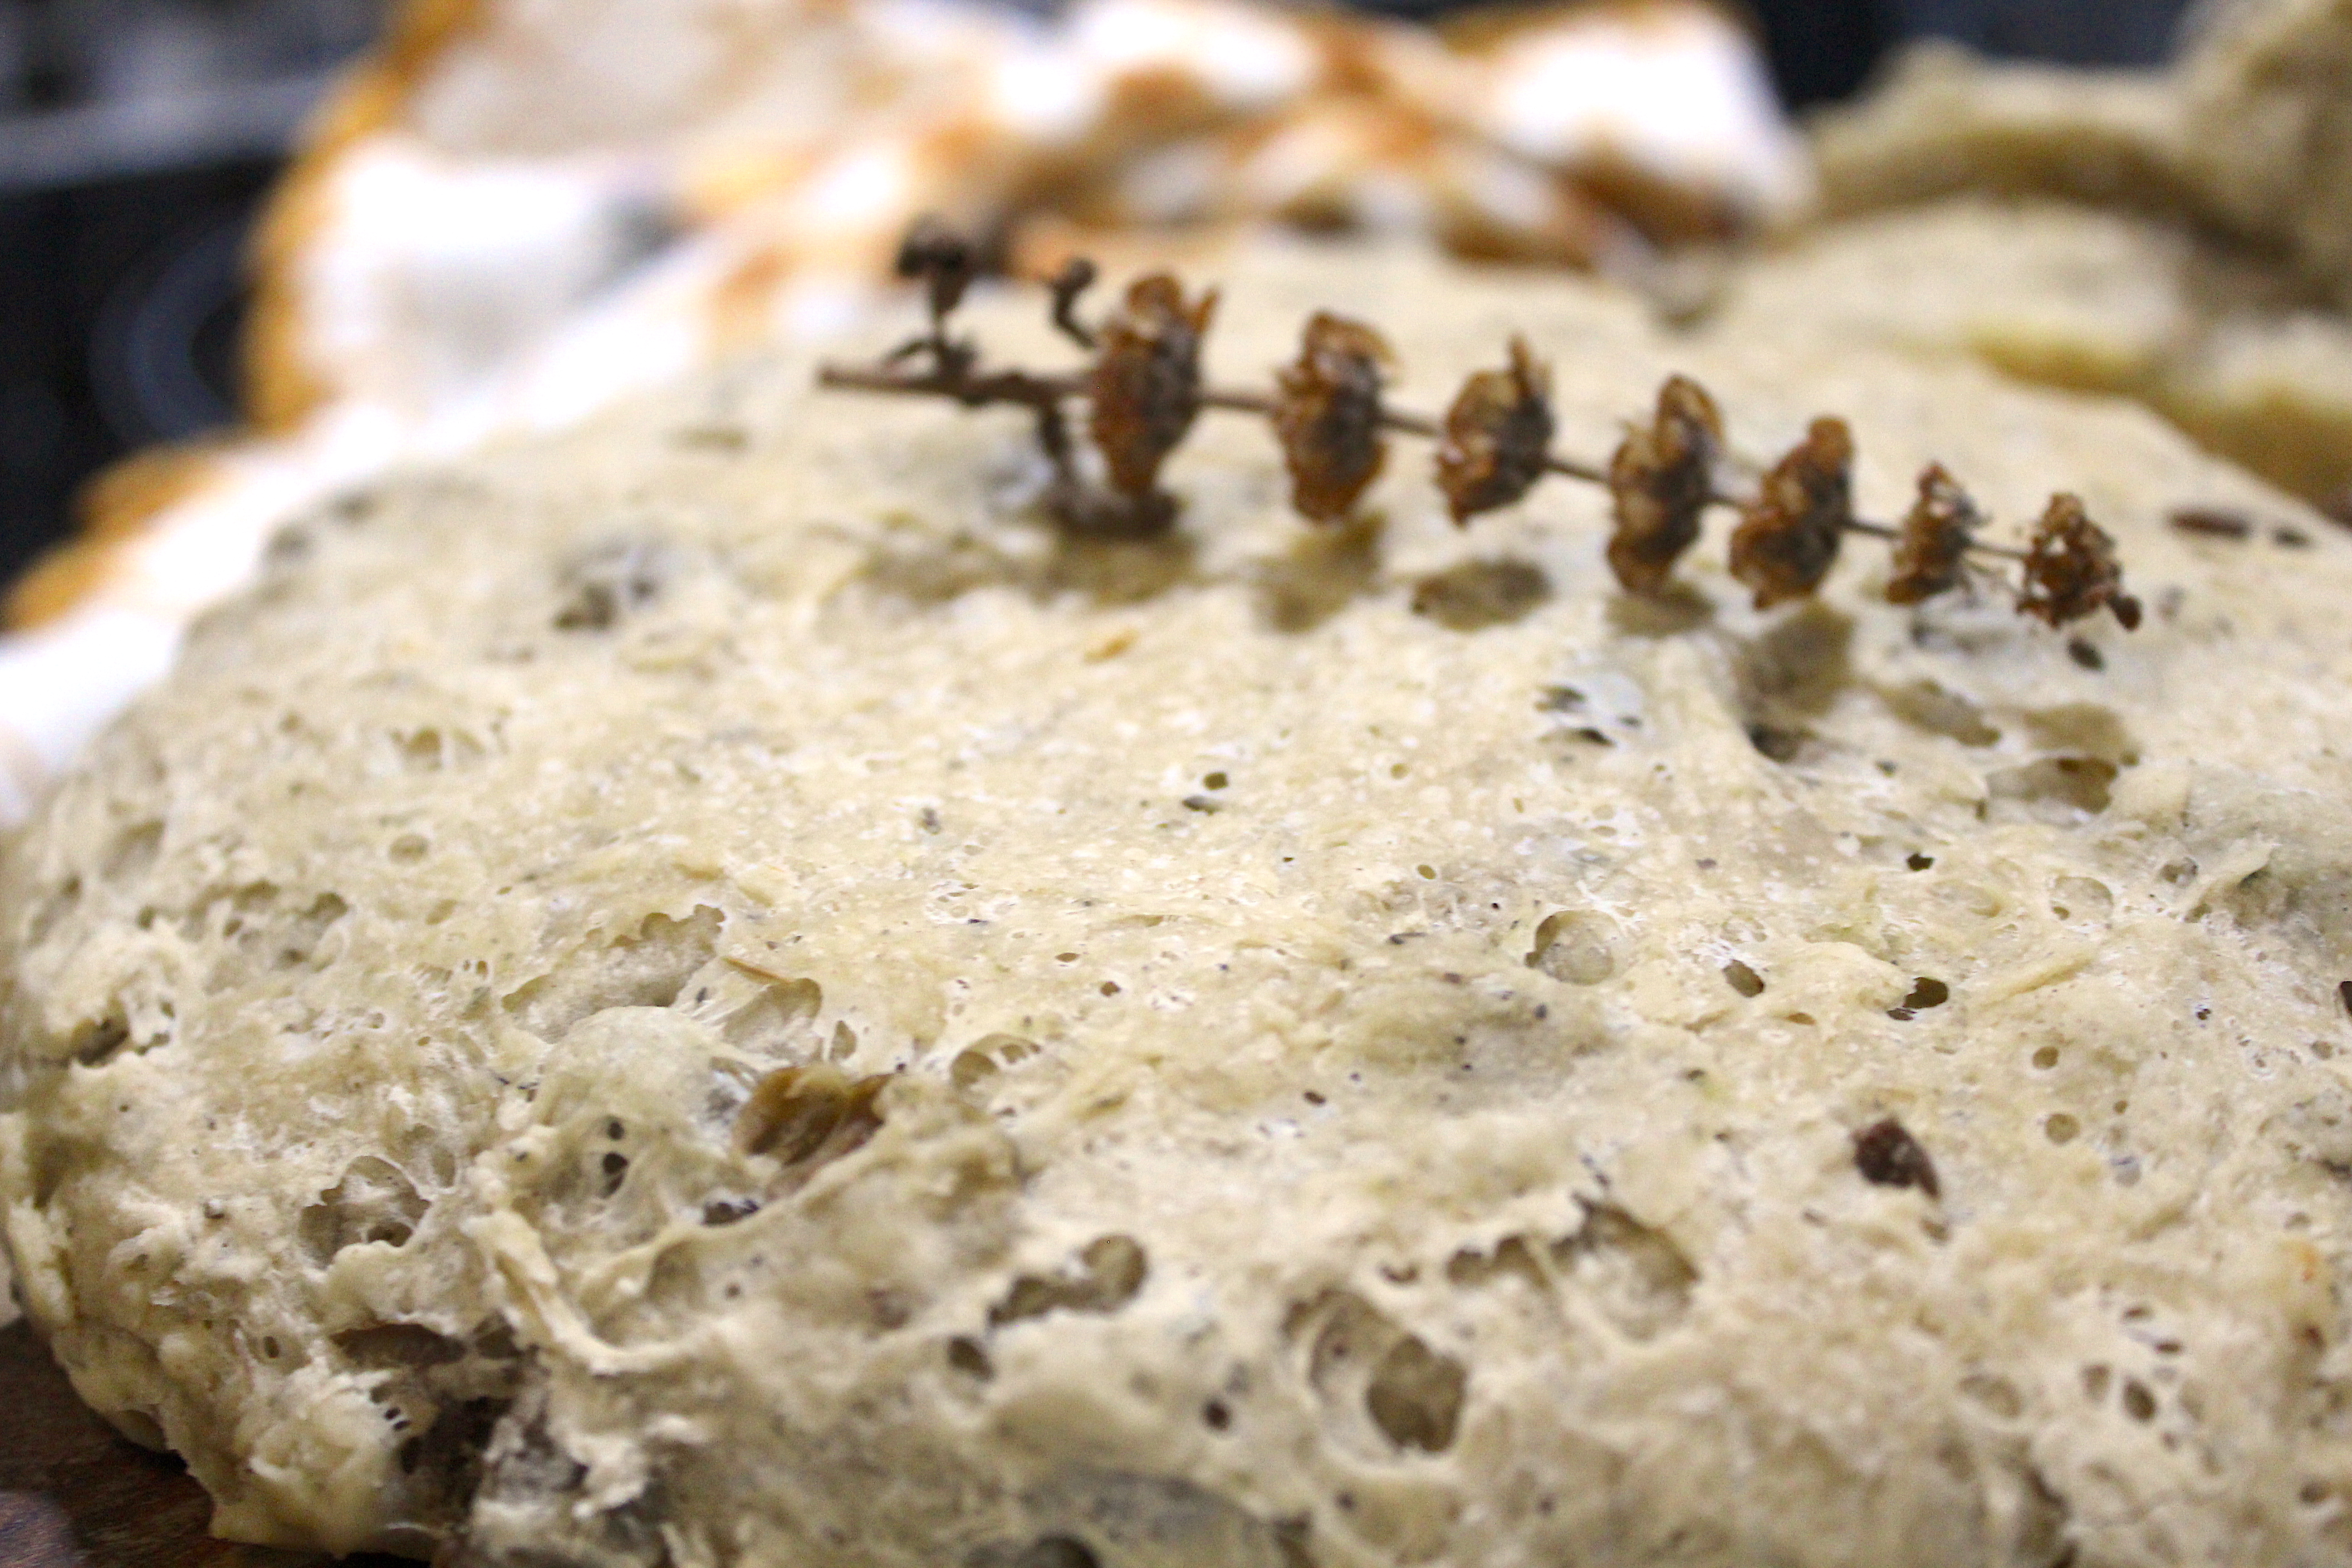
Pão de azeitonas sem amassar, feito na frigideira de ferro
Se são amantes de pão como nós aqui em casa, certamente que pão não vos falta na mesa do dia-a-dia.
Compramos muito pão, mas igualmente e depressa fazemos o nosso próprio. E não custa nada então se for tão fácil como este! Juntar o fermento, água morna e farinha, e o resto faz-se praticamente sozinho.
Também não é necessário muito tempo, e num máxmimo de 3 horas, podem ter um pão delicioso e quentinho à vossa frente, feito por vós mesmos!
Dicas e variações
Água: quando misturar a água ao fermento, ter a certeza que esta não está a ferver, pois isso pode matar o fermento. A água tem que estar morna.
Descanso e levedar: como este pão está e é feito numa frigideira de ferro, deixei tapado sobre a placa vitrocerâmica quente, a uma temperatura muito baixa. Tenham apenas a certeza que se encontra bem tapado e num local quentinho, para ajudar a crescer, pois senão poderá demorar o dobro do tempo.
Ervas: podem usar as que mais gostarem – garanto que mal não ficará! Óregãos ou tomilho são opções boas.
Tomate seco: incorporar tomates secos dará um toque Mediterrânico muito especial!

Ingredientes:
- 300 g farinha
- 100 g azeitonas verdes, cortadas aos pedaços, sem carroço
- 1 Dente de alho, picado
- 2 Colheres de sobremesa fermento padeiro
- 2 Colheres de sopa azeite + um pouco para untar
- 1 Colher de sopa ervas de Provença
- 1 Colher de sopa manjericão seco
- 200 ml água morna
- Numa tigela, misturar a água morna ao fermento e cerca de 100 g de farinha. Misturar bem.
- Adicionar as azeitonas, ervas e o alho. Misturar.
- Aos poucos, adicionar a restante farinha – dica: usar uma chávena de café para a tarefa -, e ir misturando até obter uma massa homogénea, e não muito pegajosa.
- Untar o fundo da tigela com um pouco de azeite, tapar e deixar levedar num local morno durante 1 hora.
- Untar o fundo da frigideira com mais um pouco de azeite, e passar a massa da tigela para a frigideira. A massa deverá ter crescido o dobro.
- Deixar sobre a placa quente ou num local morno, durante mais 1 hora.
- Pré-aquecer o forno a 190ºC.
- Pincelar o topo do pão com mais azeite e levar ao forno durante 30 a 40 minutos.
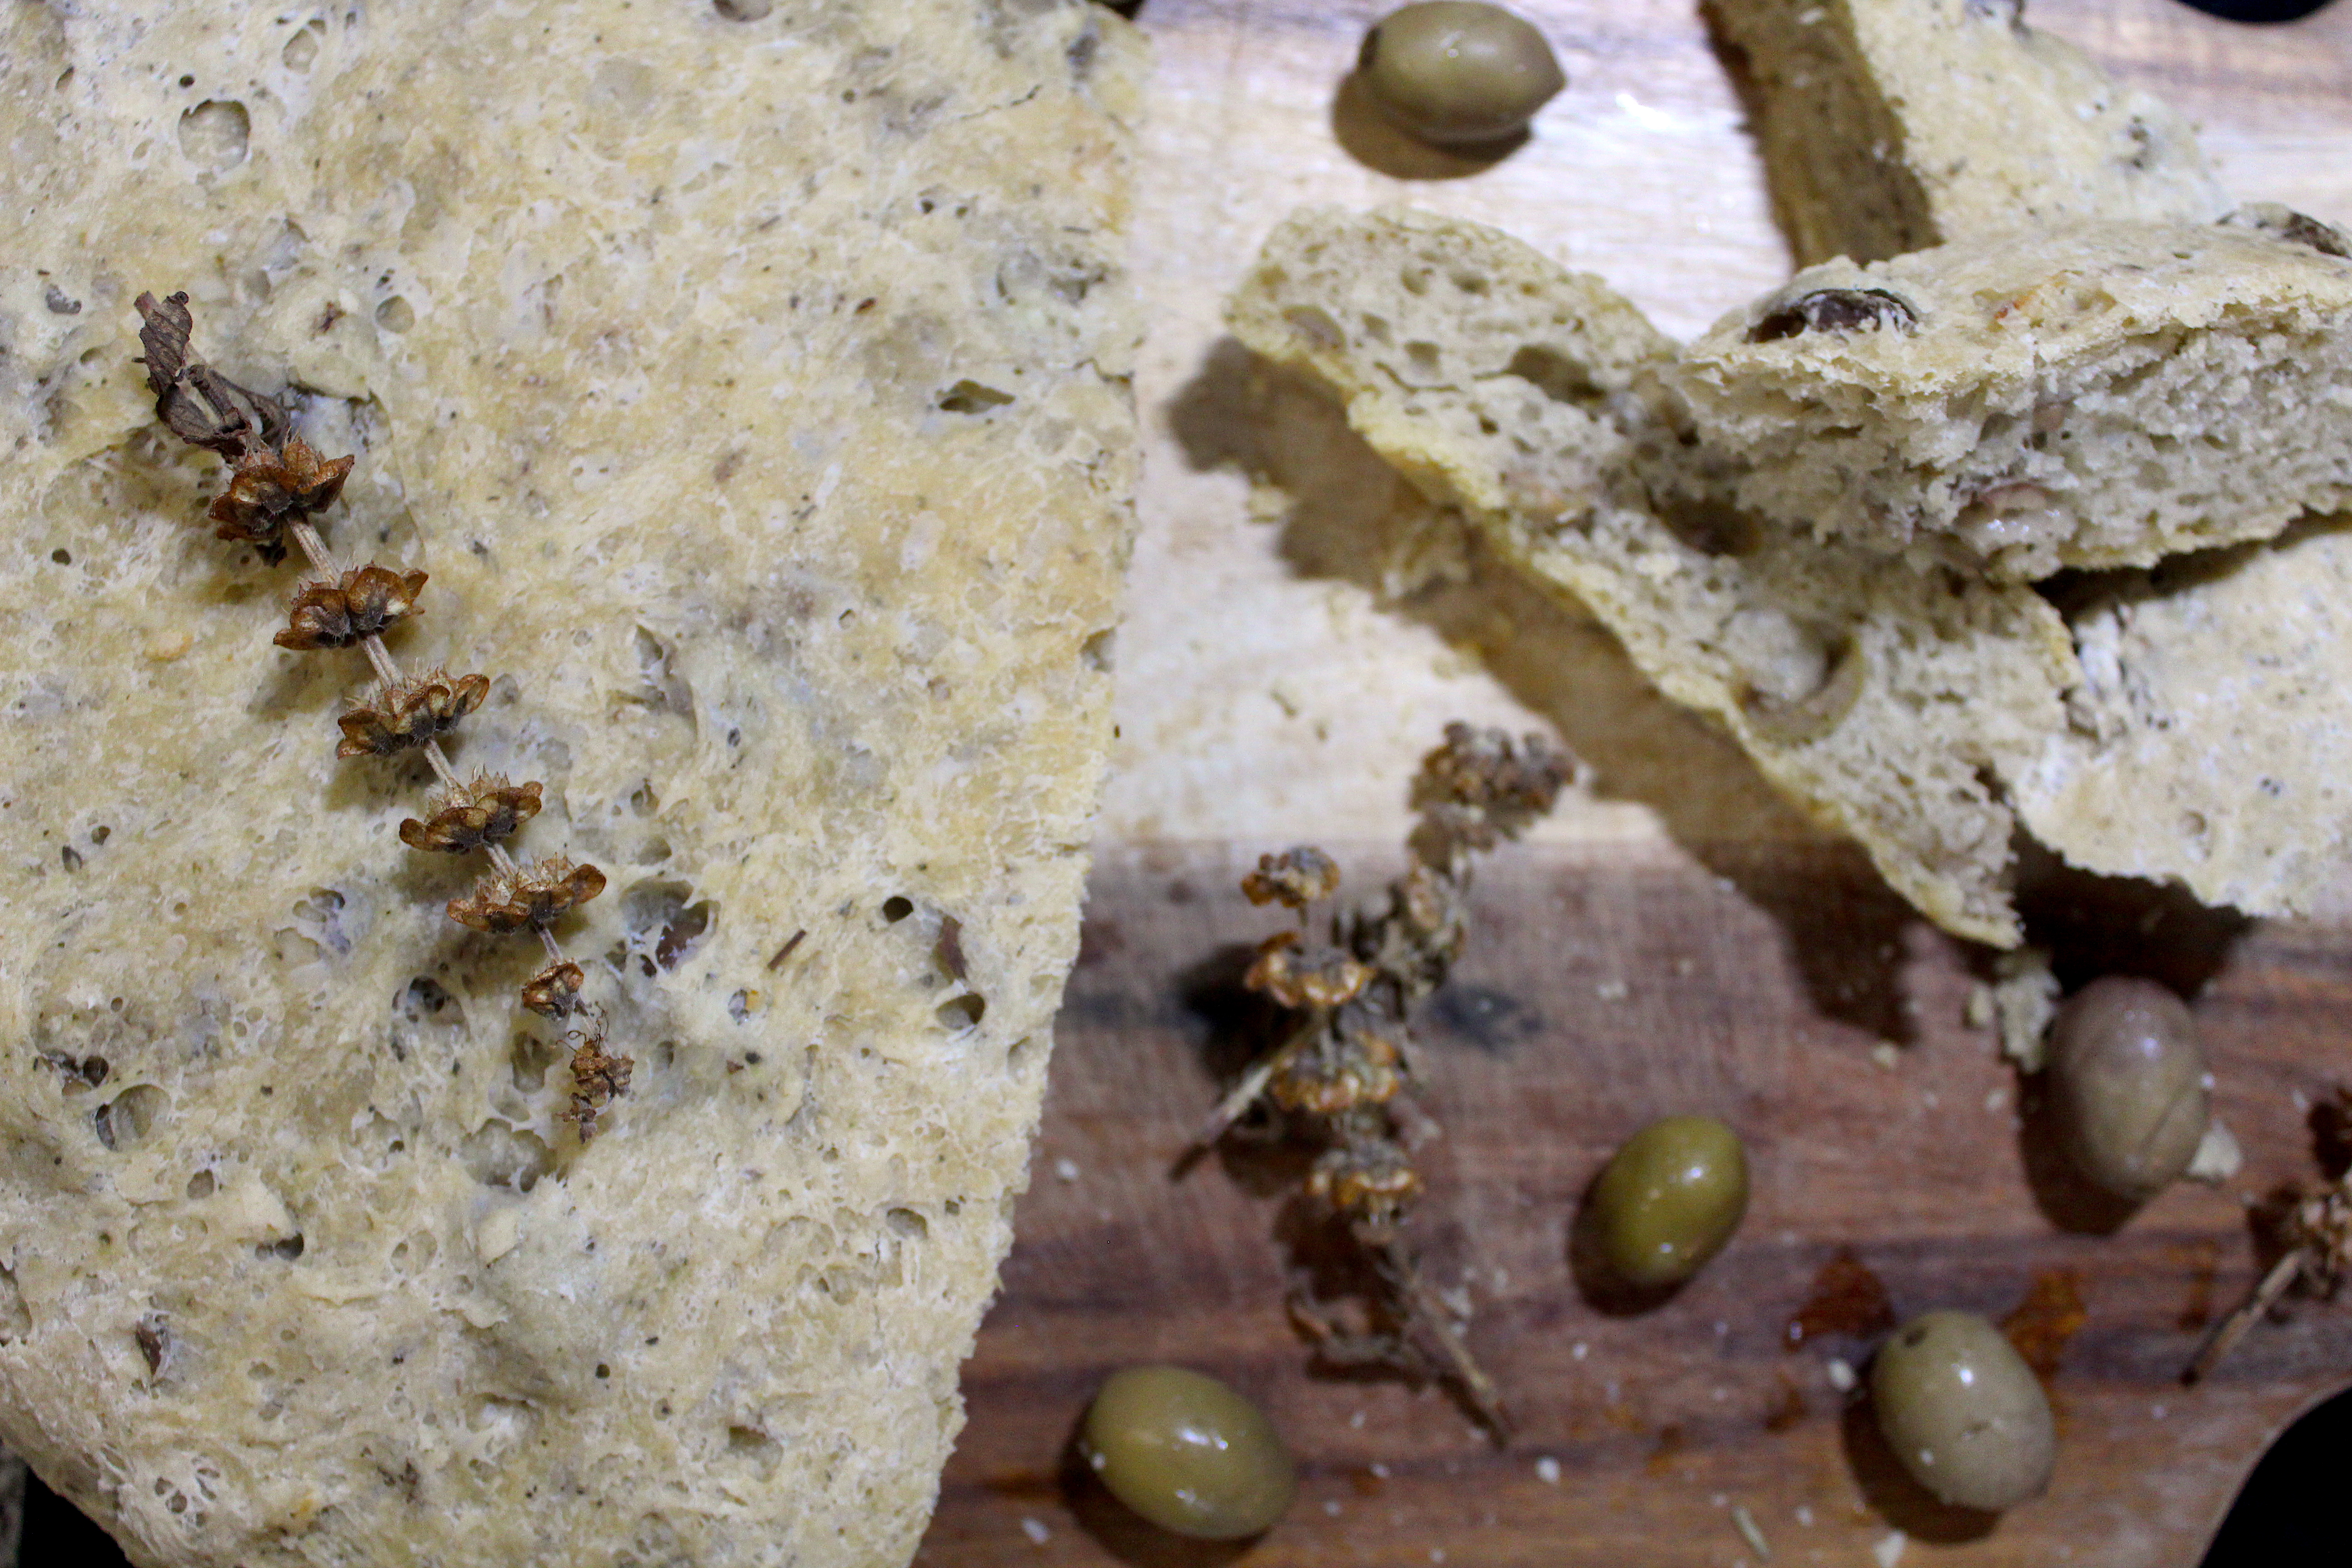
- Servir quentinho ou frio, com ou sem manteiga, com ou sem queijo, como acompanhamento ou simples… este pão é delicioso!
Sigam-me no Instagram onde podem ver mais aventuras gastronómicas! Aqui www.instagram.com/mar.henriques
With little effort and work, this aromatic bread with green olives, is difficult to resist! Incredibly easy to prepare and bake, since it is not necessary to knead. The final result is what you see, aromatic, light and crusty bread.
FOTO
Ready to get more recipes? Just subscribe with your email and you will get a notification every time something comes out of the oven!
No knead skillet bread with olives
If you are bread lovers like us here, certainly bread is something you always have around, in your daily routine.
We buy bread, a lot, but we also bake it ourselves very often. And it hasn’t to be a hard task, especially when the bread is so easy to prepare like this one! Mix together the yeast, the warm water and some flour and everything else makes it by its own (almost).
You don’t have to wait too long either, since in maximum 3 hours, you can have a delicious and warm bread in front of you, made by yourselves!
Tips and variations
Water: when you mix the water and yeast, make sure the water is not boiling, since that can literally kill the yeast. The water must be warm only.
Resting and rising: since this bread is done in an iron skillet, I left it covered over the ceramic hob, while it was in a very low temperature. Just make sure yours is well covered too and in a warm place to help it rise; otherwise it will take the double of time to rise.
Herbs: you can use the ones you like the most – I guarantee you, it won’t taste bad! Oregano or thyme are good options.
Dried tomato: incorporate some dried tomato and you will bring a special Mediterranean taste!
Ingredients:
- 300 g flour
- 100 g green olives, cut in small pieces, no seeds
- 1 Garlic clove, minced
- 2 Teaspoon active dry yeast
- 2 Tablespoon olive oil + a bit more to grease
- 1 Tablespoon Provence herbs
- 1 Tablespoon dried basil
- 200 ml warm water
- In a bowl, mix the warm water and yeast and about 100 g of flour. Mix well.
- Add the olives, herbs and garlic. Mix well.
- Little by little, add the rest of flour – tip: use a tea cup for the task -, and mix everything until you obtain an homogeneous dough and not too sticky.
- Grease with olive oil the bottom of the bowl and leave the dough to rest, covered, for about 1 hour.
- Grease the bottom of the skillet with a bit more of olive oil, and move the dough from the bowl to the skillet. The dough at this poin must have grown the double.
- Leave it above the ceramic hob, warm, or a in a warm place to grow a bit more, about 1 hour.
- Pre-heat the oven to 190ºC.
- Brush the top of the bread with more olive oil and bake it for about 30 to 40 minutes.
- Serve warm or cold, with or without butter, with or whitout cheese, as a side dish or just bread… it is delicious all ways!
Follow me on Instagram to see more gastronomic adventures! Here www.instagram.com/mar.henriques


Leave a comment